HDTV Set Up
Now that you’ve got your new HDTV home, or you already have an existing display in use; it’s time to cover the basics regarding the proper hook-up of your TV.
Note: This article does not cover picture calibration. See How to Calibrate your HDTV for more info on this topic.
Preface
HDMI Cables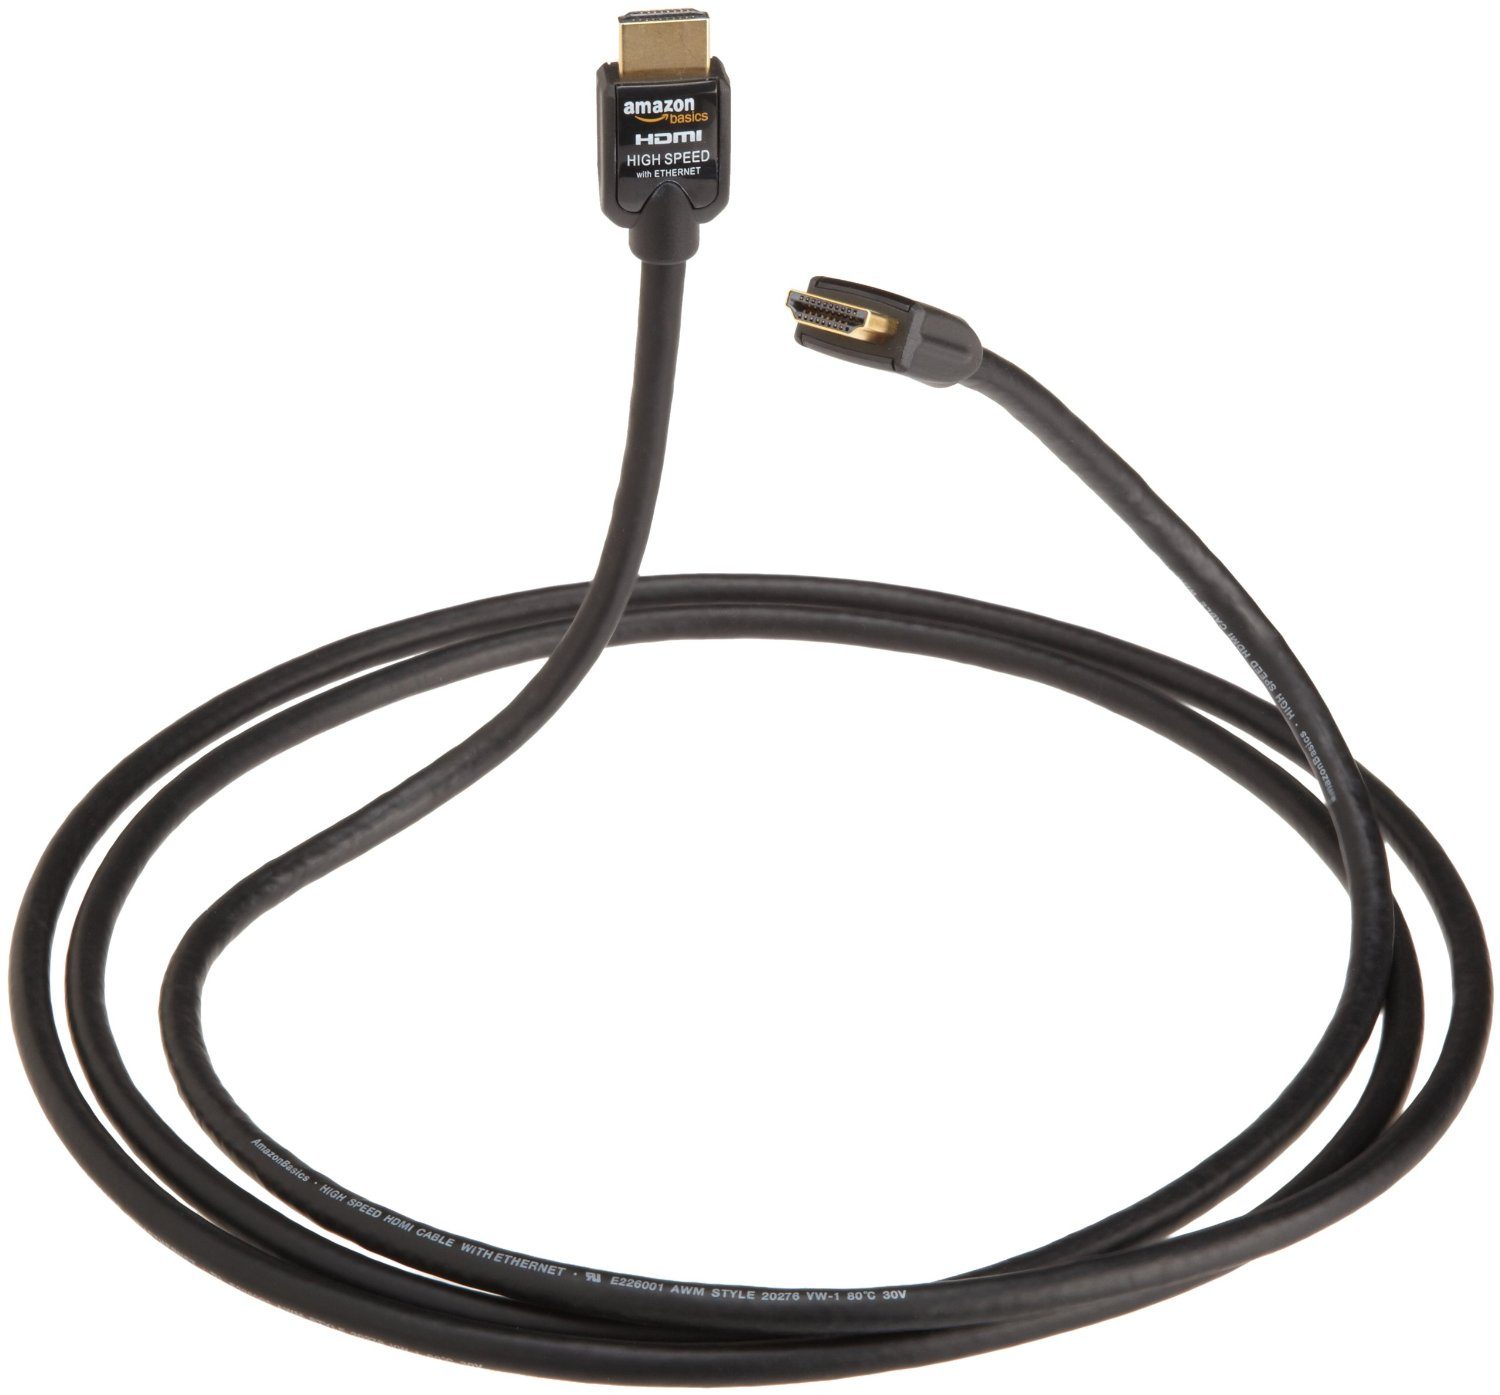
Before we get started with your HDTV setup, I’d like to talk about HDMI (High-Definition Multimedia Interface) cables. Today there are dozens of HDMI cable manufacturers. And many of them are advertising that to get the best in picture quality you must purchase one of their premium (high cost) cables.
The truth is; for example, you can spend as little as $7.00 and get the same performance as a $70.00 cable or even a $700.00 cable. How is that possible you might ask… well since HDMI cables carry digital signals they’re either going to show a perfect image or no image at all.
And as long as the manufacturer assembles the cable correctly and uses quality materials the cable will perform as advertised. Manufacturers that charge extreme prices for their products are usually charging you for their “brand” name and the exotic materials and the extensive manufacturing processes they claim to use. When in reality these procedures do little or nothing to improve picture quality.
However, there can be at least one advantage a more expensive cable has over its cheaper counterpart, and that is the materials used in the production process can provide better shielding against electrical interference and be a bit more durable.
As far as the type of HDMI cable to use, your choices are high speed and standard speed. Both can be had with or without Ethernet capability which will pass an Ethernet signal from your computer network to all connected devices that have Ethernet HDMI capability. Standard speed cables can handle up to 1080p HD signals and high-speed cables can handle any signal above 1080p including 4K Ultra HD signals. Since the price difference is negligible between standard and high-speed HDMI cables, always buy high-speed cables.
To sum things up regarding HDMI cables: I suggest you save your money and purchase a quality inexpensive HDMI cable. I recommend cables from Monoprice![]() and AmazonBasics. These brands provide excellent cables at very affordable prices.
and AmazonBasics. These brands provide excellent cables at very affordable prices.
Now, let’s get started with setting up your HDTV…
Step 1: TV Placement – Cabinet or Wall Mounting
For the best or optimal viewing experience, I recommend you place your display on a cabinet (TV stand) at eye level. Be sure the cabinet is rated to support the weight of the TV. Also, know the exact dimensions of the top of the cabinet and the TV’s stand or feet so that the TV fits properly onto the cabinet.
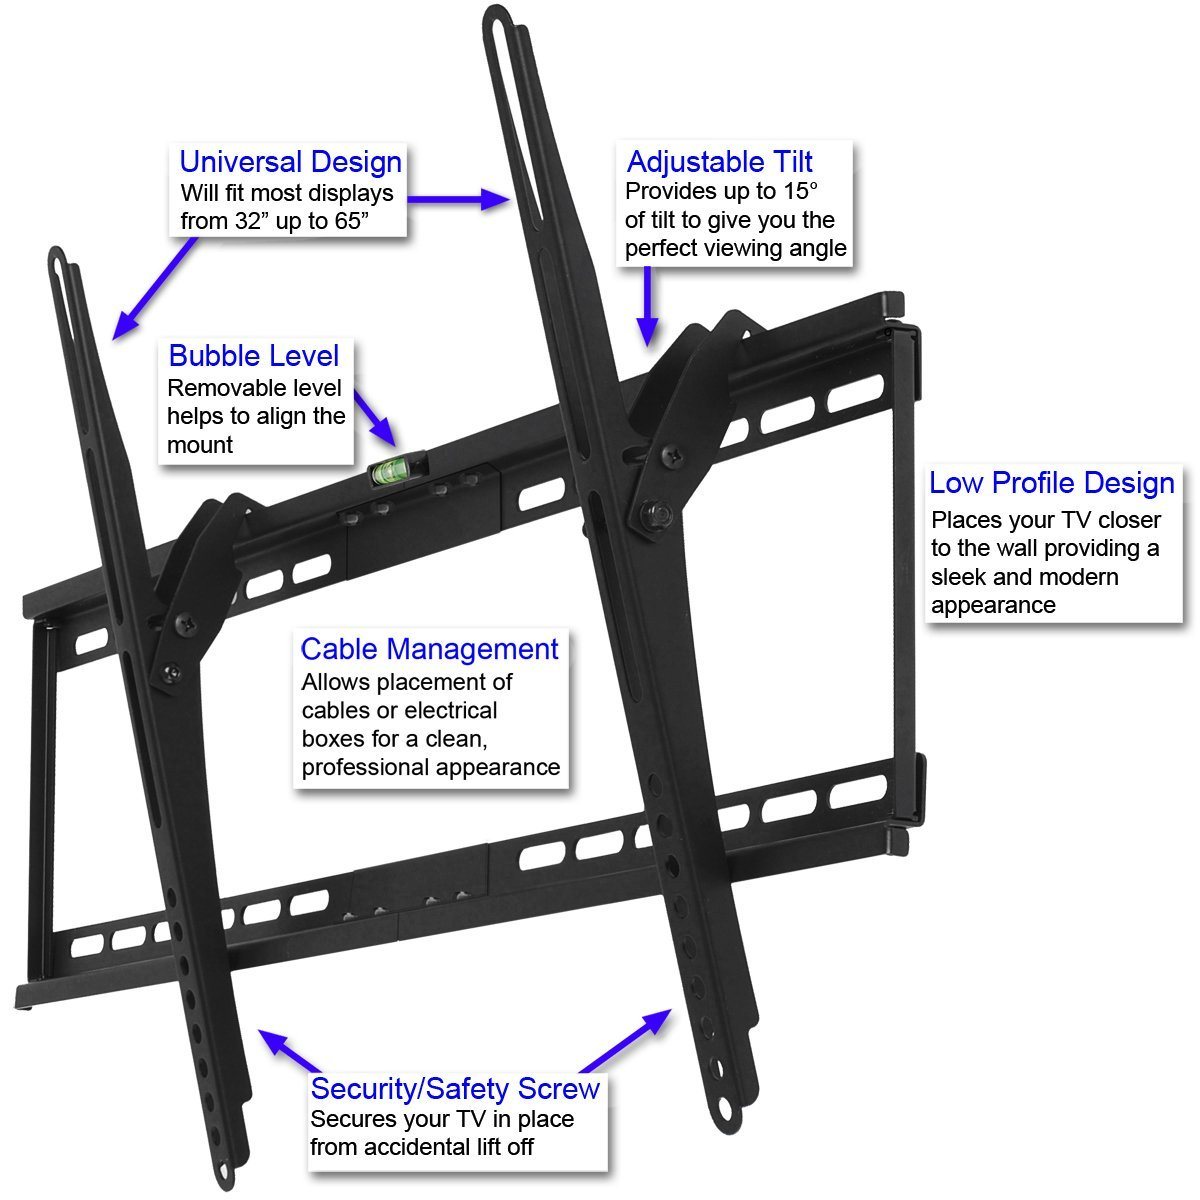
Wall Mounting – The slim and thin design of most flat-panel TVs makes them ideal for hanging on walls, and in particular above the fireplace, which is still a popular trend among consumers. For wall mounting, you will need the proper TV wall mount![]() .
.
See your TV’s owner’s manual or the manufacturer’s website for info on whether or not your unit can be mounted and for the recommended type of wall mount. If you don’t have the proper skill set for this type of installation, I highly recommend you have it done by a professional or at least by someone you know who has the skills and experience for this type of job.
I mentioned above to place your TV at eye level for optimal viewing. This setup is my personal choice and opinion. Your TV placement choice and opinions may and will vary from my own. With that said, place your set where it will give you your best viewing satisfaction.
TV Distance – Use the chart below to determine how far you should sit from your TV based on its screen size:
Screen Viewing distance range:
32″ 4.0-6.7 feet 60″ 7.5-12.5 feet
37″ 4.6-7.7 feet 65″ 8.1-13.5 feet
40″ 5.0-8.3 feet 70″ 8-75-14.6 feet
46″ 5.7-9.5 feet 75″ 9.4-15.6 feet
50″ 6.3-10.4 feet 80″ 10.0-16.7 feet
55″ 6.9-11.5 feet 84″ 10.5-17.5 feet
Step 2: Hook-Up
Depending on the type of service(s) you may have. You may be getting the programs you watch from a variety of sources. This could be cable, satellite, media streaming devices and even over-the-air broadcasts. All of these sources will require some sort of connection to your display.

HDTV Connection Ports
If you have cable or satellite, the set-top boxes and/or DVR units you have were most likely installed by that particular service provider. These devices are usually hooked up to your TV via HDMI cables.
Many consumers with cable TV including myself will run down to their local cable provider’s office and pick up the equipment they need and once home, hook these devices up themselves.
If you choose to go this route, follow the instructions that are supplied with the equipment, or go online to the cable provider’s website for installation help if you are not familiar with hooking up this type of equipment.
Hooking up a cable box is pretty simple: Before plugging the box up for power, run a coax cable from the cable wall jack and into the antenna/cable input connection on the cable box. Next, and depending on your connection type. Connect the cable box to the TV using an HDMI cable. The HDMI ports will be clearly labeled on each device. If you do not subscribe to high definition service from your cable provider you may or may not need a cable box for basic cable service depending on your provider. In some cases, you may still need a cable box for expanded basic service. In this case, you will need a second coax cable(if there is no HDMI port) and connect it to the” out to TV” coax connection on the back of the box and run the other end of the coax cable to the back of the TV’s “antenna in” coax connection.
If you only have basic service from your cable provider, you will probably not need a cable box. Under these circumstances, you will run the coax cable straight from the wall outlet and directly to the back of the TV’s antenna/cable in coax connection. Once all connections are made, go into the TV’s setup menu and select antenna/cable and choose the cable option. Remember, this step only needs to be done if you are connecting the coax cable line directly to your TV.
Satellite set-top boxes are usually installed by your service provider.
If you will be using streaming media devices such as Roku, Chromecast and Amazon Fire TV to name a few. These devices will connect to your display using HDMI connections.
If you will be getting the programs you watch from over-the-air, you will need an antenna to receive the over-the-air broadcast. This antenna will connect to the TV’s antenna/cable in coax connector on your display. Once connected, go into the TV’s setup menu and select antenna/ cable and choose the antenna option. Click here for more info regarding antenna and over-the-air HDTV broadcast.
Many of you may have or are about to purchase a smart TV. These displays require a connection to your home’s computer network. If you will be using a hardwired connection to your network, it must be done via Ethernet cable. This cable will be run from your network router to the back of the TV’s Ethernet port.
Wireless setup – The next steps are a general outline for connecting your HDTV as well as other devices to your network wirelessly:
- Open your TV’s menu and go to setup ( refer to your sets owner’s manual on how to find and navigate its menu functions)
- Select network settings and choose the wireless option
- Next, search for wireless networks
- Once available networks are displayed, choose your network name (SSID – service set identifier)
- Type in your security key and hit save or done depending on your menu layout
You should now be connected to your home’s wireless network.
Note: Be sure your network router’s security type is WPA2-PSK and encryption type is AES which gives your network better security against intrusions.
Step 3: Connecting Other Devices
Vizio soundbar w/ subwoofer
Hooking up a Blu-ray player, gaming console and other devices will be done via HDMI cables to an HMDI port on your display. See these devices’ owner’s manual for help with their setup.
If you are installing a soundbar, the sound bar’s optical input port will be connected to your TV’s optical output port using a digital optical cable. Some soundbars and TVs also have coaxial digital connections. These can be used if there are no optical connections available and will provide the same sound quality results.
Controlling the soundbar’s volume can be done with the supplied remote or using a universal remote such as Logitech Harmony to control all of your devices from one remote. When using the soundbar turn the TV’s volume control all the way down, or turn the TV speakers off from the audio menu. See your owner’s manual to accomplish this task.
For those of you who have laptops with an HDMI port, you can connect it directly to your HDTV via its HDMI port and view your laptop content on your big screen TV.
Cable Routing
After all, devices have been connected to your display, it’s time to have a look at how your audio/video cables and power cords are laid out. It is important to try and keep all power cord cables away from your signal cables (HDMI, coax, optical, etc). This will help keep electrical interference from entering the signal path. Use cable ties or other cable routing appliances to rout cables properly.
Step 4: Checking Your Connections
Power on your TV. Next, power on connected devices. Starting with your cable or satellite box, use your remote’s input button to select the proper input for that device. Check that all devices are functioning properly. Many TVs offer input labeling. Refer to your sets owner’s manual to set this function. You will be able to label each input according to what device is connected to it.
Repeat the procedures above for the remaining connected devices.
Check that your soundbar is working properly.
Check your wireless connection by accessing the internet from your set’s web browser. Also, check out some of your TV’s smart functions by accessing the apps menu. Refer to your owner’s manual to use these features.
Check that your remote control(s) are operating their associated devices. Check your owner’s manual(s) to program your remote(s) to control multiple devices.
Step 5: Care and Cleaning
I use a Swiffer Duster to regularly dust my TV screen and the entire TV enclosure. I use a microfiber cloth to clean any blemishes including fingerprints from my TV screens.
Prior to using the cleaning cloth, I use a soft cotton T-shirt slightly moistened with water to first wipe away any blemishes and follow up with the microfiber cloth. This works very well for me and leaves the screen very clean without any streaking.
I personally do not use any cleaning liquids on my TV screens. However, they are available if you prefer to use this type of cleaner. Take care not to over saturate the screen with any type of liquid as this could be harmful to your TV.
Conclusion
Following the steps above will guide you through the proper setup and maintenance of your HDTV. And will allow you to enjoy and get the most from your flat panel display.
If this article has been useful, or if you have any comments. Please leave them below.
Very helpful instructions
Hi Duane,
I’m glad you found the info useful. I appreciate your comments. Thank you.
Regards,
Milton
HDTVs and More